

This would be Volume 3 :o)
In last week’s thrilling episode I mentioned in a comment to Dada that I would show this week how I came to regret not doing the underlying silver pflame pfirst instead of the backwards way I went about doing it, with the top flame first. Flames are a simple concept to interpret but can become complex when multiple layes, colors and so on are added. I don’t know about other artists but when I start a project I attempt to come up with a logical set of procedures of how best and most efficiently to go about creating multiple parts of an image. Sometimes though, I get it completely backwards and end up creating more work for myself.
This particular job has thrown me a little simply for the fact that the outermost flame is the same color as the color of the truck body…..
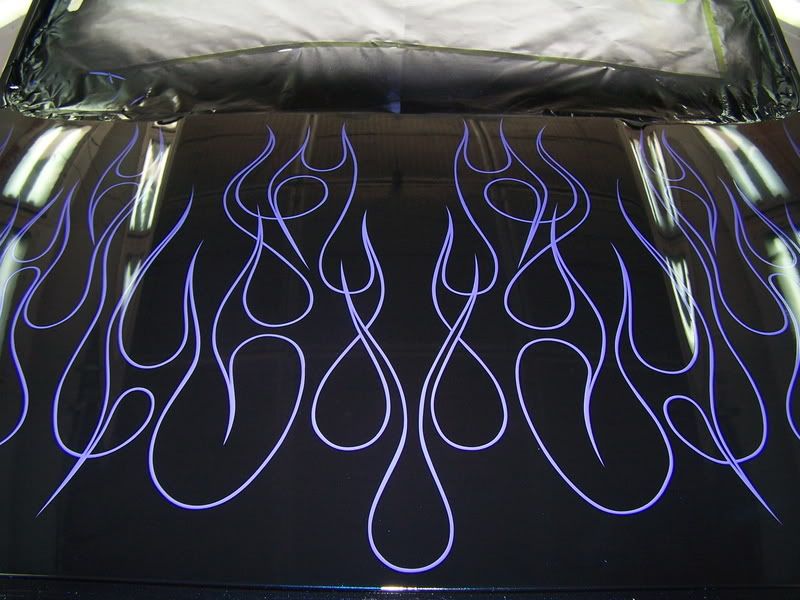
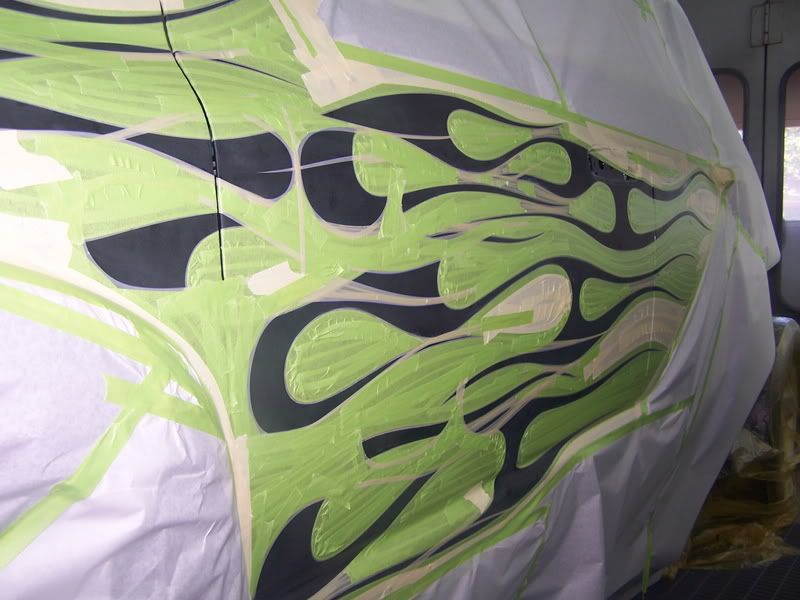
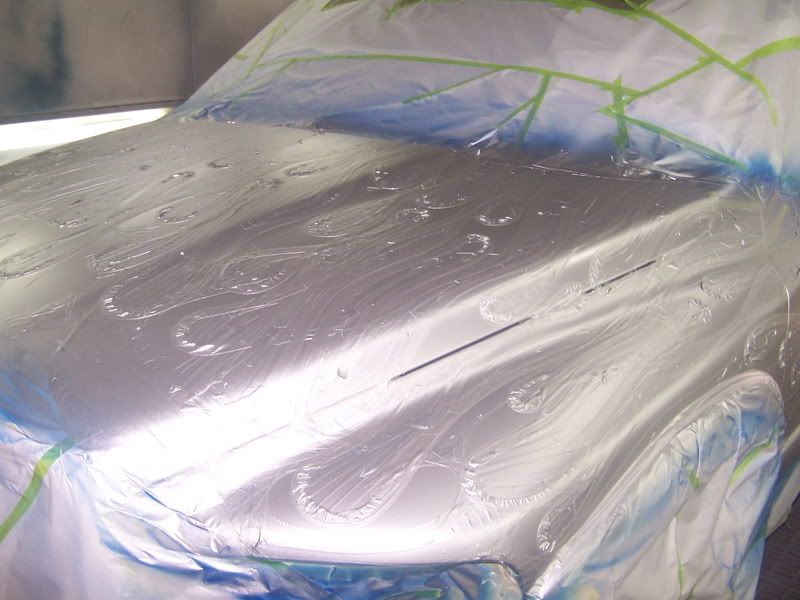
Here’s where we left off last week, having completed the first, outer set of flames…
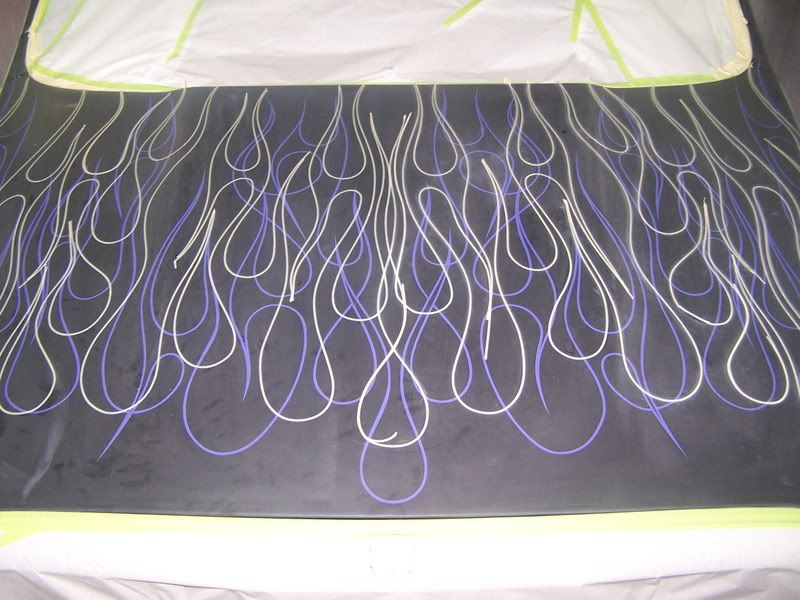
A lot of taping work for such a simple result. Having prepared this surface for the next set of flames by once again sanding and flattening this surface, I begin laying out the right side of the truck with the second layer…
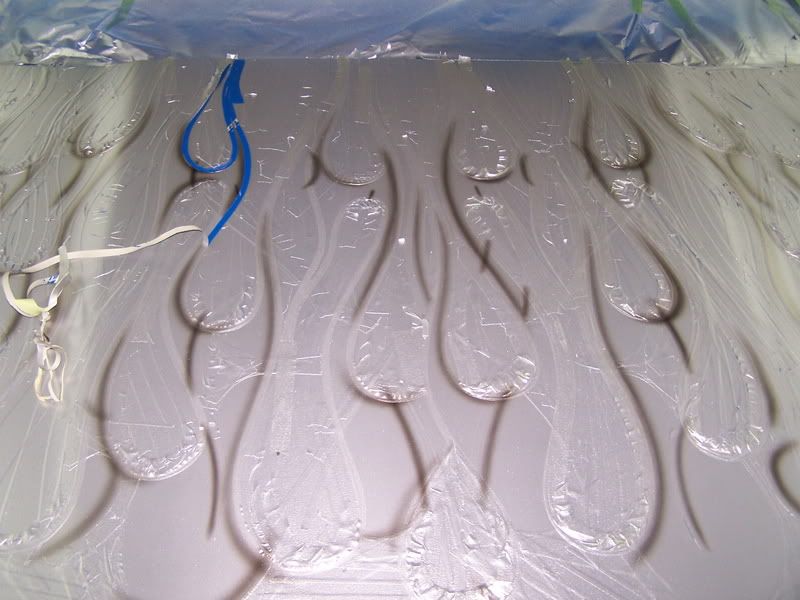
This is where an eyeball can take a beating! You look at this stuff long enough and you can actually hear faint little screams of pain coming from the middle of your skull! :o)….
In fact, this diary will double as an informal clinical test. You guys stare at the above picture for two hours and let me know in comments about the screams eminating from your own skulls, K? Hahaha!
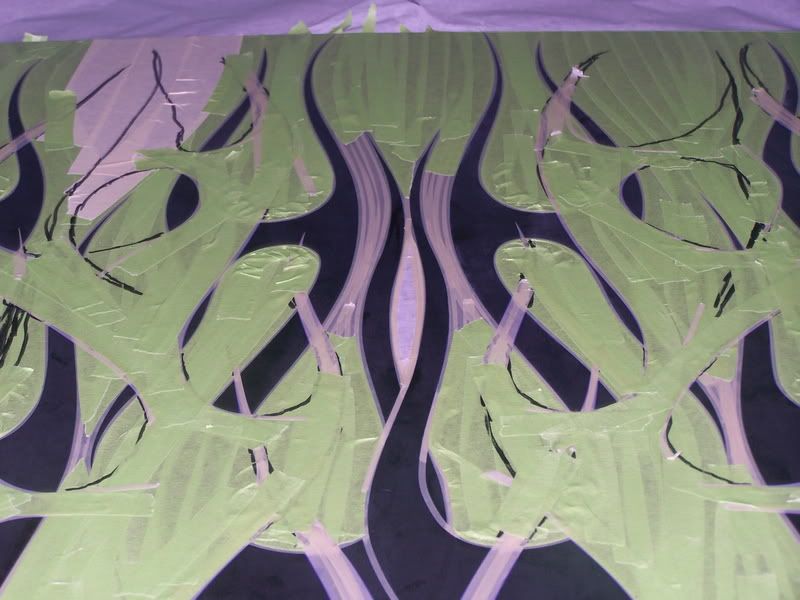
Again, having completed the layout, all areas not recieving color are covered in with masking tape…
Actually, this is where I encountered the greatest difficulty in determining what to cover and what not to cover. Unlike the first flame, this flame is to be seen as underneath the first. Meaning that the parts of the first flame that intersect and go over this second one need to be carefully covered and preserved and the first one being the same color as the truck it makes it nearly impossible to determine it’s complete form once the taping and filling in with masking tape of the second one is finished.
See what I mean?…..
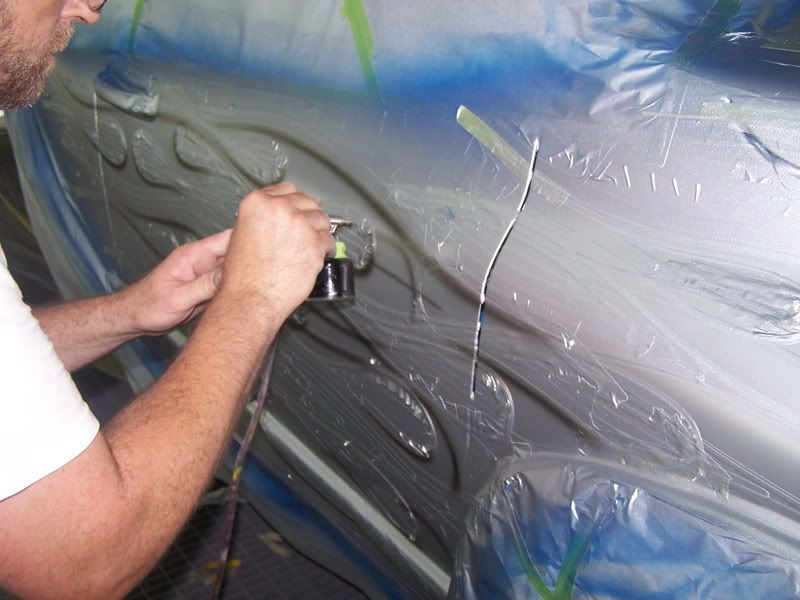
I tried to follow it’s path with a black marker so that I might see it more clearly. Those are the black lines on the tape…
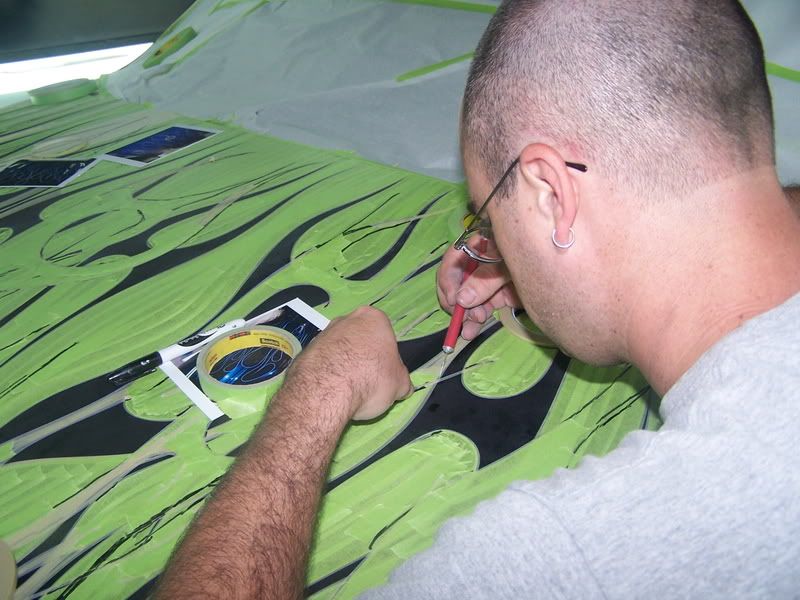
Here we can see my beautiful assistant, Carol Merrill, otherwise known as Gary, doing the delicate work of covering all the sharp little flame licks (ends) that need to be preserved. He’s using a scalpel type razor here. Painstaking and tedious work. Gary is an artist himself and often helps me out. Without his help this whole process would have taken at least twice as long.
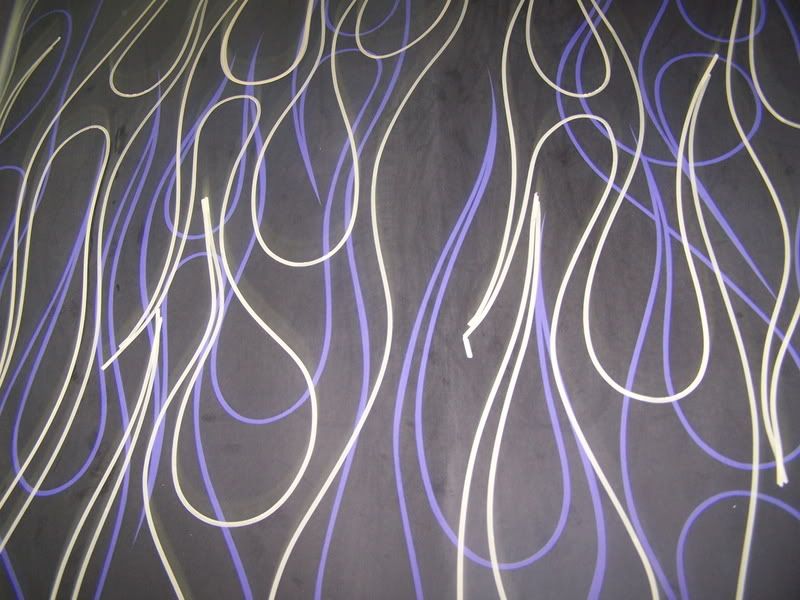
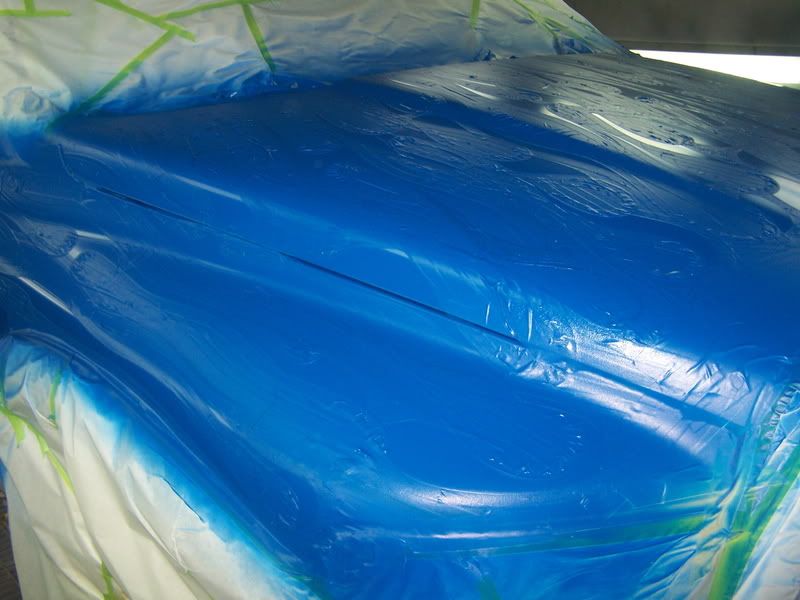
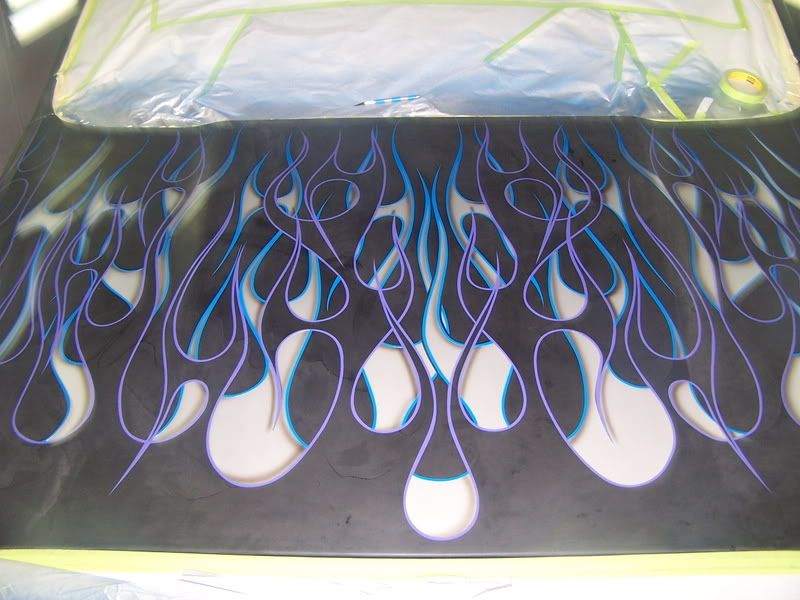
Finally, having finished covering everything up, and hoping I/we haven’t effed up too badly anywhere, I spray on the outline color for the second set of flames. I chose a medium sky blue type color to stay within the black, blue, violet side of the color spectrum. Sometimes I apply louder colors that have a starker contrast, like bright orange or lime green, but with this job I wanted it to maintain a more classy or understated simplicity….
Now, once again I take 1/8th inch fine line tape and follow the outline of the second flame, covering what I want to be seen as a blue outline…
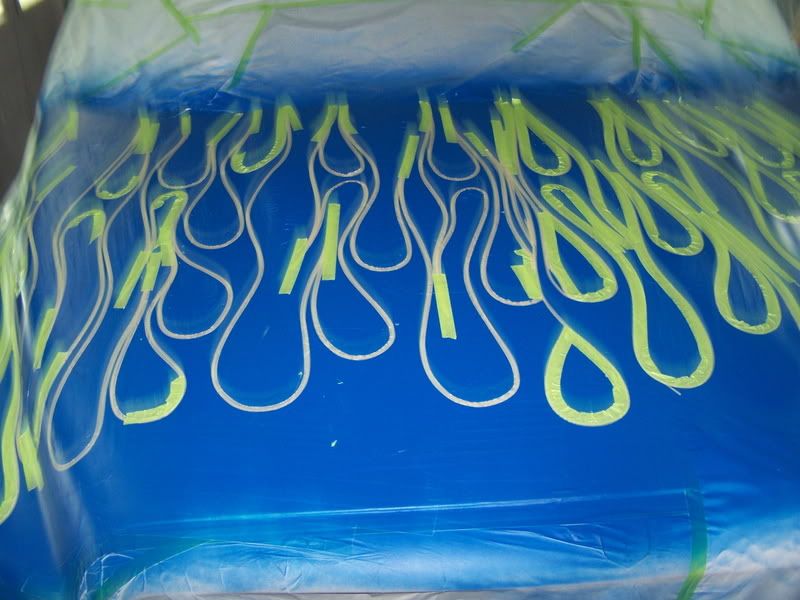
This process was also difficult because evrything is becoming so hard to follow now, with multiple layers of tape all buried under one, uniform color. I sometimes have to walk away from my work for a while to give my eyes a rest because looking at this stuff for too long really can give you a headache! :o)
Now it’s time to spray in the primary color of the second flame. In this case it is silver. I chose/created a silver with a course metallic to give it a sparkly feel. Also, after applying this silver, Gary suggested adding a special silver pearl that he had over the top of it. It’s called Ice Pearl and according to him it was $80 for a tiny little container of it. It’s a dry pearl, meaning it comes in a powder form. The way to get this into a sprayable form is to mix it with a clear basecoat, which is identical to the colors I’ve used on the truck, only it has no pigment in it. When it was all done this pearl added a little extra kick to the overall appearance. We’re all about kick, you know? :o)
Now here is where I made a decision to do some airbrushing shadows that are opposite of what I’d normally do. This time I wanted the silver flame to appear as if it was cut into the black of the truck. To achieve this illusion a shadow was airbrushed inside of the silver flame, where as normally shadows would be placed outside and below (imagining the sunlight coming from a place above duh!) the flame. Here also is where the color of the truck being black makes it impossible to do a black shadow because, naturally, it wouldn’t show up.
Anyways…
This was done while the tape was still on the truck, helping to keep the shadow from leaking onto the outside of the flame. Can you get a feel for the negative aspect of the silver flame being cut into the truck?….
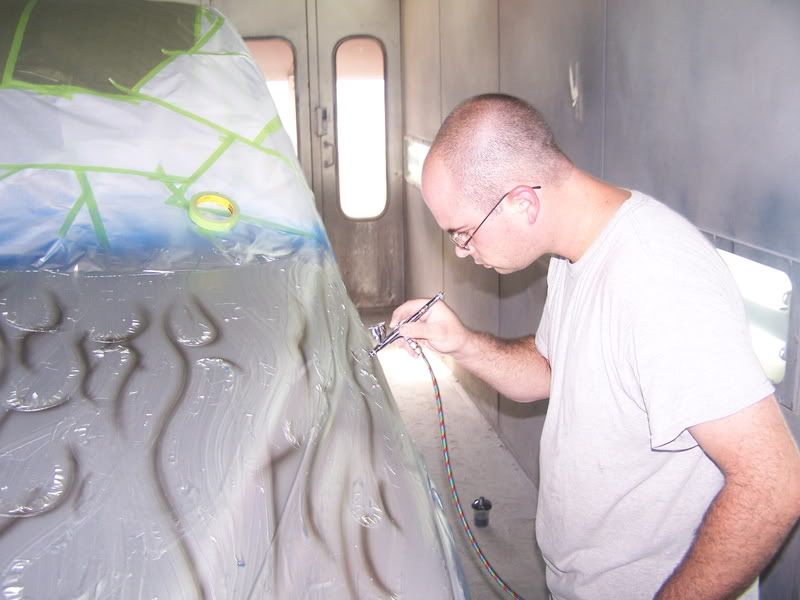
Here Gary helps me again to speed up the process by airbrushing the shadows on the other side. It’s nice to have competant help like that….
Finally it’s time to untape the entire mess, always being careful to go slowly and delicately. No matter how careful you are there are always little screw ups here and there. I am very picky about my stuff looking clean and precise, so I always take the time to do whatever little touchups that need cleaning up in order to have a quality finished product.
Here is how it looks right after untaping it, and here is where I’ll end this week’s Nightmare on Elm Street edition of how to generate a migraine! :o)
See y’all next week for the completion of this one :o)
Now who’s got the aspirin?! :o)

