Hello again painting fans.

Well, it’s almost anniversary 7, which will actually take place on June 18th. But since this is a Saturday post, today is close enough.
When I started this series (dkos version), it had the snappy name of Saturday Morning Acrylic Painting Blogging. Fortunately, I streamlined it to the present SPP in the intervening time. That first post included an analysis of one of my earlier paintings and suggested painting supplies. Fascinating stuff to be sure. That is, it was fascinating if you find dissection of visual elements to be stuff of great interest. Okay, it took some time to get going in the right direction.
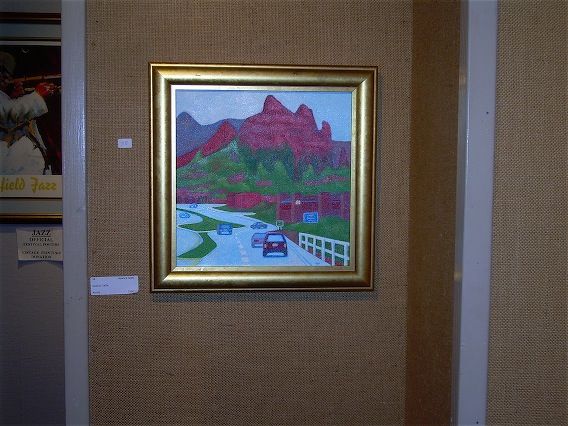
Subsequently, I made the decision to do a slow motion live-blogging of paintings in progress. Each installment would bring more progress until completion of the painting some weeks later. However, the first painting was so bad that I refuse to repost the photos. (They are still with that diary for those feeling an unrelenting urge to search.) Thankfully, with (much) more time spent painting and the support of my fellow bloggers, I improved. Below is a photo from about a week ago. It shows my recent Sedona Traffic hanging at a juried show at KAA. I thank you for that in part. Without the input of the folks reccing/commenting here, it would have been more difficult to move forward. But move forward I did, and the celebration is today. Long live SPP.

And now on to the progress on the current painting.
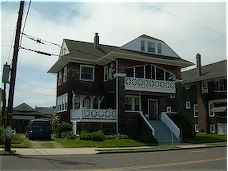
For this week’s cycle I’ll be continuing with the Cape May shingle style Victorian house. I’ll be using my usual acrylic paints on an 8×8 inch gallery-wrapped canvas. The photo that I’m using is seen in the photo directly below.

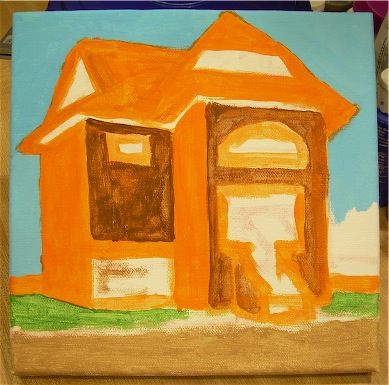
When last seen, the painting appeared as it does in the photo directly below.

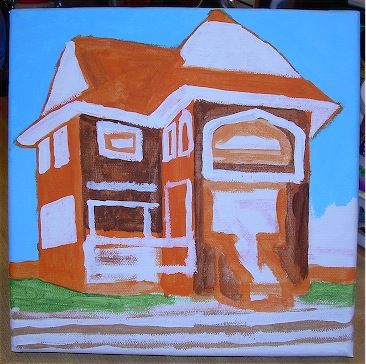
Since that time I have continued to work on the painting.
This week, it’s all about clarification. For that purpose, I’ve used only one paint color, white. I’ve spent some time delineating the various elements of the house. Staring at the top, I’ve opened the gable ends. They now appear roughly the appropriate size and shape. I’ve done the same for the soffit area. Below, windows and the openings to the front now are also correctly sized/shaped. At the bottom, I’ve separated the roadway and sidewalk areas.

That’s about it for now. Next week I’ll have more progress to show you. See you then. As always, feel free to add photos of your own work in the comments section below.
Earlier paintings in this series can be seen here.


